Door sealing problems often begin with a small visible gap, but the effects can spread through an entire building. Cold air enters beneath the slab. Dust gathers beside the latch. Condensation appears around the frame. These signs indicate more than a worn strip.
The U.S. Department of Energy reports that air leakage can represent 25% to 40% of the energy used for heating and cooling in a typical home. ENERGY STAR also identifies air sealing as a practical method for improving comfort and reducing energy waste. However, industry data rarely isolates doors from windows, walls, and other openings. That limitation matters.
Joseph Lstiburek, Ph.D., a respected building-science expert, states, “A building is a system.” His principle explains why How to solve door sealing problems requires more than replacing weatherstripping. The frame, threshold, hinges, compression, and surrounding wall must work together.
This guide presents seven practical tips for diagnosing and correcting common sealing failures. It covers uneven gaps, damaged gaskets, air movement beneath doors, and moisture near thresholds. A paper test may reveal weak compression. A flashlight can expose daylight around the frame. Simple checks often reveal the real problem.
Not every leak has one cause. Sometimes, the door is not the problem.
The most reliable repairs begin with observation, accurate measurement, and suitable materials. Results can still vary with climate, installation quality, and door design. That uncertainty deserves attention, because a perfect-looking seal may fail after repeated opening, temperature changes, or building movement.
7 Tips to Solve Door Sealing Problems
Diagnose Door Leaks with Smoke Testing at 0.3 in. w.g. Pressure. A closed door can still waste energy through tiny, moving gaps. The U.S. Department of Energy reports that air leakage may represent 25–40% of heating and cooling energy use in some buildings. That makes door testing practical, not cosmetic.
Set the building pressure to 0.3 in. w.g., or about 75 Pa, with a calibrated blower-door system. Close interior doors, windows, and dampers first. Disable fans that could distort the result. Move a smoke pencil slowly around the latch edge, hinges, frame corners, threshold, and weatherstrip joints. Watch the smoke. A sharp inward stream suggests leakage. Test the door in both closed and latched positions. Small gaps matter.
Begin with seven checks: inspect compression, measure frame alignment, clean the contact surface, adjust hinges, replace damaged weatherstripping, seal frame cracks, and retest. ASTM E1186 describes smoke methods for locating air leakage paths, but smoke is not a perfect measurement tool. Pressure changes can exaggerate real conditions. I have seen a threshold appear sealed until foot traffic flexed the slab. Retest after adjustment, preferably under the same 0.3 in. w.g. pressure. Record the gap location and airflow direction. If combustion appliances are nearby, use trained personnel and follow applicable safety procedures. Warmer rooms are not always better sealed.
Use 0.3 in. w.g., or about 75 Pa, with calibrated equipment. Close windows, doors, and dampers first. Disable fans. Small gaps become easier to see.
Move smoke slowly around the latch edge, hinges, frame corners, threshold, and weatherstrip joints. Watch the direction carefully. Inward movement suggests leakage.
Yes. Test it closed and fully latched. The gap may change when the latch pulls the door tighter. That detail is easy to miss.
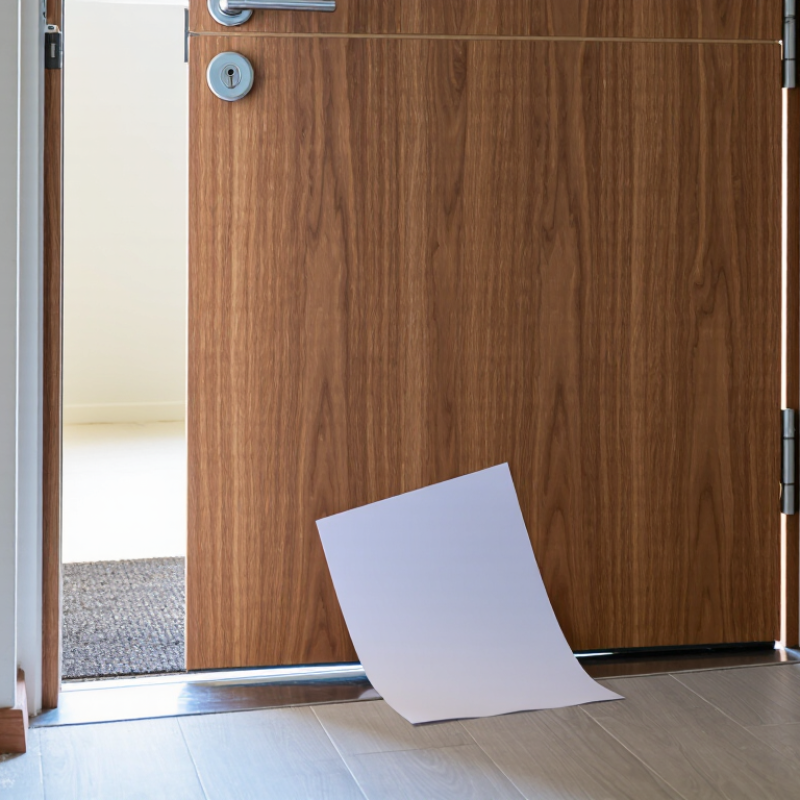
Place a thin paper strip between the door and frame. Close the door, then pull gently. If it slides out easily, compression may be too weak.
Check whether the frame is square and aligned. A leaning jamb can make sealing material look helpful. It may also make the door hard to open.
Measure the finished threshold height after flooring, sealant, and gasket installation. Keep the walking surface stable and free from curled edges. Do not add sealant blindly.
Open and close it several times from both sides. It should latch without force and open without catching. Retest smoke movement at the same pressure.
Keep indoor relative humidity near 30% to 60%. Use a calibrated hygrometer near the doorway. Record morning and evening readings for several days.
Yes. Poor room circulation can create drafts near the ankles. Check comfort at normal sitting height, not only beside the door. The first repair may still be imperfect.
Recheck after temperature changes, flooring work, or heavy foot traffic. Thresholds can flex under pressure. A repair that looks finished may not stay effective.
How to solve door sealing problems begins with locating the source of air leakage. A simple smoke test under a pressure of about 0.3 inches of water gauge can reveal drafts around the door slab, frame, threshold, and weatherstripping. Once leakage points are identified, estimate the potential energy impact, since effective air sealing may reduce building energy use by up to 10 percent. Select weatherstripping that matches the measured gap, especially openings between 1/8 and 1/4 inch, so the seal remains effective without making the door difficult to operate.
Pay close attention to the threshold and frame, sealing cracks while preserving a clear egress space of at least 1/2 inch where required for safe operation. After completing repairs, test the door again for drafts and check indoor comfort. Maintaining relative humidity between 30 and 60 percent can also help support a comfortable indoor environment and reduce problems associated with excessive dryness or moisture.

 Globe Hardware